|
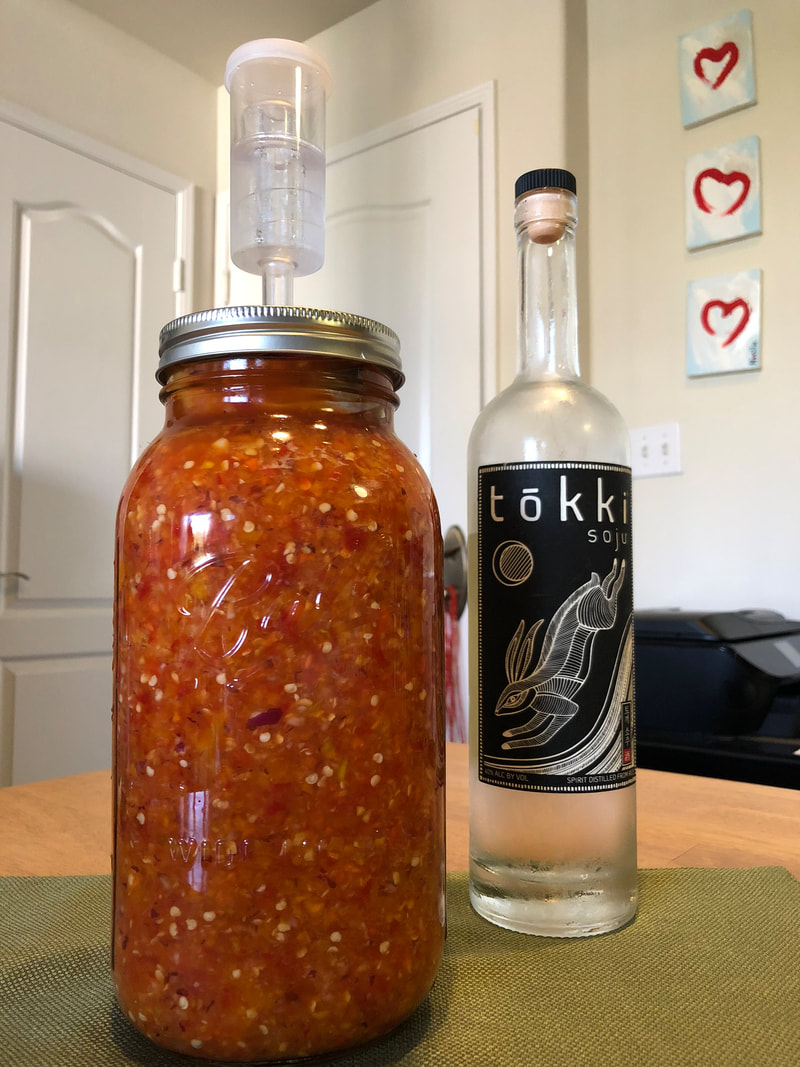
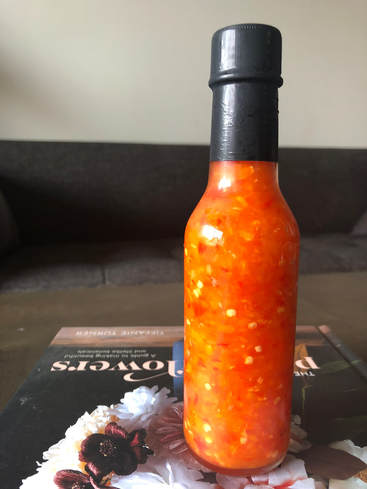
I watched and waited for months with the patience of a wily cat. Each visit to the farmer's market left me empty-handed until I spotted them on 04 August: fresh hot Thai peppers. That's when I pounced. The next day, I donned some gloves and put together a ferment that included my catch along with sweet red, yellow and orange bell peppers, Hatch Valley peppers from Trader Joe's, onions, garlic and salt. It was finally time to make a hot Thai pepper sauce. Hot pepper salsas, sauces and pastes can be yours with each summer's crop of peppers. Fermented foods are full of flavor, along with providing your body with meaningful nutrition and probiotics. If you'd like to give it a try, here's the recipe. You don't need an airlock to ferment peppers. Just place a tilted lid or plate gently on the top of the jar to allow the C02 to escape as the veggies ferment. Do not screw on the lid unless you have an airlock. For this project, you will need a one-gallon jar, a small ziplock freezer bag, and some plastic wrap and gloves, along with the ingredients. NOTE: Wear gloves to protect your hands from capsaicin heat when you work with peppers. Do not touch your eyes, face or any part of your body. Ingredients 3 pounds sweet peppers of your choice (I used red, orange and yellow, along with Hatch Valley peppers), roughly chopped 1/2 pound Thai peppers, trimmed of their green tops and stems 2 medium onions, roughly chopped 4 cloves of garlic, roughly chopped 1 1/2 to 2 tablespoons salt 1. Place the sweet peppers, Thai peppers, onions, garlic and 1 1/2 tablespoons of salt in a food processor. Pulse to mince. If you want your sauce thinner, pulse accordingly. 2. Place the mixture in a large bowl and taste a small portion. Is it salty to your liking? If not, add another half tablespoon of salt or to taste, mixing well. 3. Press the mixture into a one-gallon jar or crock. Pat it down well. If you have fermentation followers (these are weights that push down on the fermenting vegetables), place them atop the mixture. If you don't have followers, fill a small ziplock freezer bag with water and place it over the mixture. Your goal is to keep oxygen out. Top your followers or freezer bag with bunched up plastic wrap to further block oxygen. Place a tilted lid or a plate or an airlock atop the jar. 4. Set the jar on a baking sheet and allow the veggies to ferment, preferably in a dark, cool spot. I place mine in a fermentation fridge set to 60 degrees F. For a more casual approach, find a cool spot in your home and throw a clean bandana over your jar to shield it from light. Note: fermentation can sometimes cause a mess, even an explosion, if you don't allow the C02 to escape by tilting the lid or using an airlock. Choose your fermentation location accordingly. 5. Allow the veggies to sit/ferment for two to three weeks. Check your fermentation regularly to ensure that the veggies are submerged below the weights, adjusting if needed. Taste the mixture after two weeks. Is it tasty, or would you like a sharper, more acidic flavor? If you crave a tangier sauce, give it another week or so, then check it again. 6. When you love the taste, spoon the hot sauce into small jars, tamping down the mixture and filling the jars to the top to minimize oxygen. Tighten the lids and store your hot sauce in the fridge. Hot sauces, salsas and pastes add zing to most any meal. Maybe it's a beautiful day and you're in the mood for a picnic. Pack your basket with hot sauce and its target: fried chicken. Place a couple of white wine glasses and a bottle of Riesling in your basket for a refreshing pairing. Next, tuck in some coleslaw and a potato salad. Peanut butter cookies complete your flavor-packed meal to enjoy with a friend on a lazy day. Or, bring your hot sauce to parties along with tortilla chips or tacos for sharing. Fun fact: fermented peppers last up to two years when refrigerated. They also make great gifts. Enjoy!
1 Comment
|
AuthorLyne Noella Archives
October 2022
Categories
All
|


 RSS Feed
